Installing video conferencing equipment
Video conferencing is a great way to host meetings, interviews and brainstorming sessions across various locations. So make sure you’re making the most of it with a correctly set-up system…
Whether it’s in your home or the office meeting room, video conferencing can open up your workplace to the whole world. No longer do you have to commute across the country and organise the diary of 10 different people for a meeting. You can simply switch on the camera and be connected to anyone, anywhere.
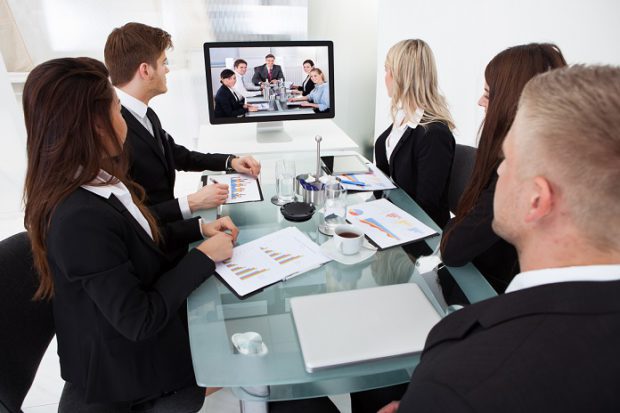
But getting the set-up right for a perfect video conferencing experience is more than just pointing the camera at your face.
Here are a few things to consider…
Find a suitable wall
Ideally, the TV and video camera should be wall-mounted, or at least placed on a shelf. Allow room for the TV and the video to be next to each other as you want to be facing both in the meeting.
Also, you’ll need a fairly large TV – we suggest no smaller than 42 inches otherwise you’ll be squinting to make out faces.
The same applies if you replace the TV with a projector. You’ll need space above the camera to project onto the wall.
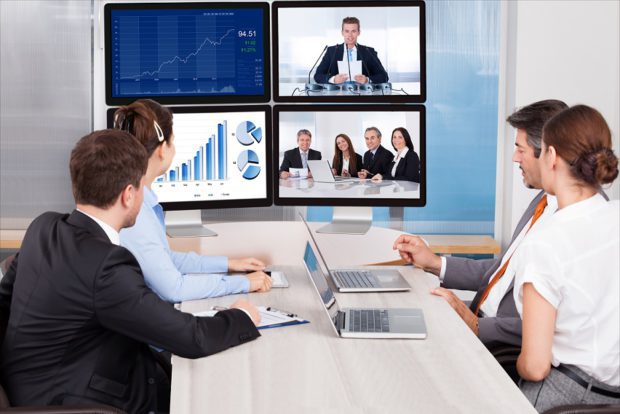
Remember eye level
When placing the camera, remember you’ll be sat down, so make sure it’s around eye level. As a rule of thumb, going a little higher than seated eye level is better than being lower as otherwise you’ll only see the people at the front.
Watch for windows
In a perfect world, your video conferencing room shouldn’t have any windows – but the reality is often different.
Windows can cause a number of problems, from natural light falling across your screen making it hard to see, to back lighting the people in your room – making them appear as shadows to the other end of the call.
Try to position the video and screen to avoid these problems. If you can’t, install some blackout blinds that can be pulled down during video conferencing sessions.
Beware reflective surfaces
From pictures and glass tables to walls painted in high gloss, reflective surfaces can reflect light onto the camera or onto your screen. Such reflected light can cause the camera to adjust and over-brighten the image displayed to your guests.
It’s also worth taking a look at any pictures or patterns in the room – intricate and repetitive patterns can cause a distorted and flickering image.
Position microphones
If you’re using a single microphone or hub, make sure it’s centrally located at equidistance from the meeting attendees. You don’t want to have to drag it across the table every time someone wants to talk or have people shouting across the table to be heard.
Keep microphones away from speakers to reduce feedback and don’t put your mobile phone next to them. If you’ve got a large meeting room, you might need a couple of microphones.
Listen for reverb
Small meeting rooms shouldn’t be a problem but as they get larger, the sound can start to echo and reverberate.
Soft furnishings like rugs, curtains and blinds can help dampen the sound. In larger rooms, ceiling tiles should be installed to help reduce reverb.
Our meeting rooms are already professionally installed with video conferencing equipment. Call us to hire one today.
Posted by Ashleigh Sharp


